Install Mnemonica Gate
Download and install Mnemonica Gate on Mac or Windows, check for updates, and set its Preferences.
- Projects
- ProductionArchive
- Updated

[Video: https://www.youtube.com/embed/KYLBOBqWemk?&wmode=opaque](https://youtu.be/KYLBOBqWemk)
System requirements
| Platform | Minimum | Architectures | Package |
|---|---|---|---|
| macOS | 10.13 (High Sierra) | Intel (x64), Apple Silicon (arm64) | App bundle (.dmg or .zip) |
| Windows | 10 | 64-bit (x64) | Installer (.exe). It installs for one user and needs no administrator rights. |
| Linux | A recent 64-bit distribution with a system tray | x64, arm64 | AppImage |
The Gate also needs:
- An internet connection to your Mnemonica server (HTTPS and WebSocket), and to
update.mnemonica.iofor automatic updates. If your network uses a proxy, set the proxy in the Gate. - A Mnemonica account with access to the web app.
- Free disk space for the files you download, and a small space for the Gate and its settings.
Install the Gate
Download the Gate
Sign in to Mnemonica in your browser. Click the Gate icon on the right of the top bar and choose Download Gate. On the next page, click the download button for your system. On a Mac, choose Download Intel or Download Silicon.
Install the Gate
Mac
Open the downloaded DMG file. Drag the Gate into your Applications folder. Double-click the Gate to launch it.
Windows
Launch the Gate installer and follow the instructions. You do not need administrator rights. Then launch the Gate from your Start menu.
Linux
Make the AppImage file executable and launch it. Your system must have a system tray.
Pair the Gate
The Gate opens on the Authorize this Gate screen and asks for a 6-digit pairing code. Pair the Gate with your browser before you start to work.
On macOS Mojave (10.14) or later, you can need to right-click the Gate and choose Open the first time you launch it. Sometimes you must do this twice. Read this Apple Support article to learn more.
After you install it, the Gate appears in the menu bar on a Mac, or in the system tray on Windows and Linux. Only one copy of the Gate runs at a time. If you open the Gate again, you see the Gate that already runs.
Updates
The Gate checks for updates every hour and downloads them in the background. When an update is ready, the Gate shows a badge and the item Install new version in the menu of the options button (⋮).
A downloaded update installs in one of these cases:
- You choose Install new version.
- The Gate starts.
- The Gate is idle: nothing transfers and the window is closed. The Gate then restarts without asking you.
To check for a new version yourself, open the Preferences and click Check for updates in the General tab. The Gate shows Mnemonica Gate is up to date when you have the latest version.
The options menu
Click the options button (⋮) of the Gate. The menu has these items:
- Install new version: only when an update is ready.
- Preferences: opens the Preferences window (see below).
- Deauthorize this Gate: read how to deauthorize a Gate.
- Quit: the Gate saves your transfers first. They continue the next time the Gate starts.
Preferences
Preferences has five tabs.
General
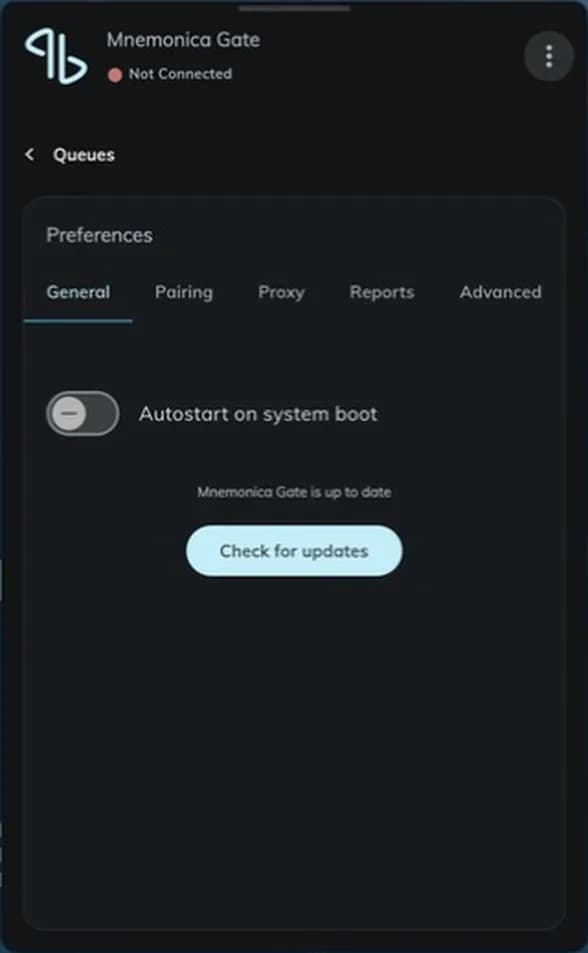
Autostart on system boot is on by default. The Gate then runs in the background and uses very little CPU when it is idle. We recommend that you keep it on. To stop the Gate from starting with your computer, turn it off.
Pairing
Use this tab to see the account of the Gate, pair another browser, or deauthorize the Gate. Read how to pair the Gate.
Proxy
If your network uses a proxy server, choose the Mode that your network administrator gives you, and click Apply. Read how to use the Gate with a proxy server.
Reports
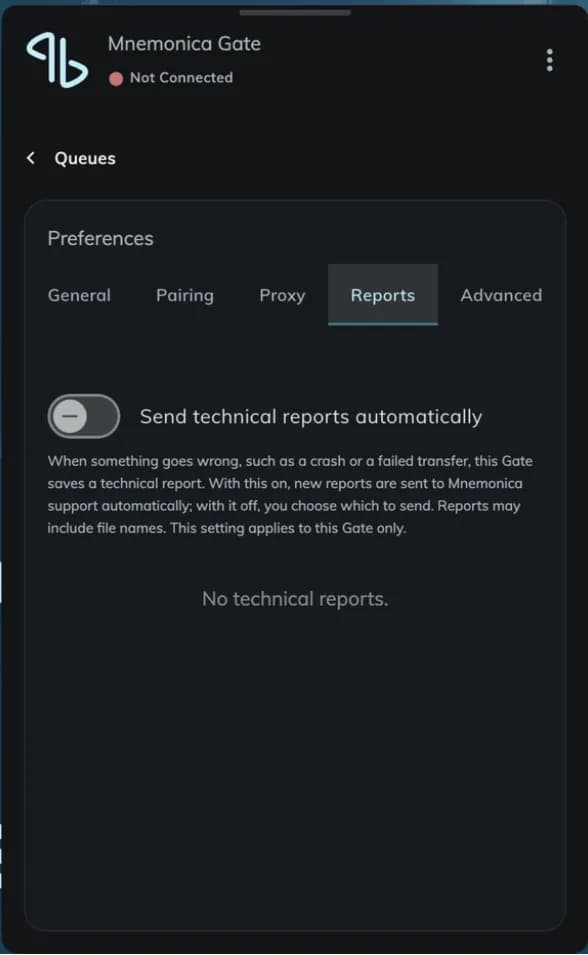
Use this tab to choose if the Gate sends technical reports to support by itself. Read how to send a technical report.
Advanced
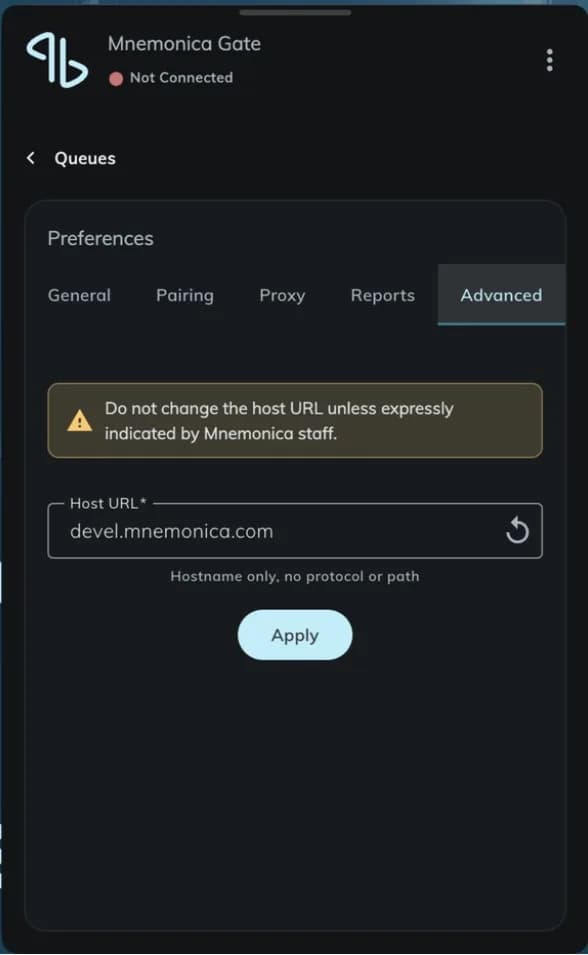
The Host URL is the internet address of the Mnemonica servers. Type the host name only, with no protocol and no path. Use the reset icon in the field to go back to the default.
Do not change the Host URL unless Mnemonica staff tell you to do so. If you change it, the Gate can lose its connection to Mnemonica.
Firewall requirements
If a firewall protects your network, the Gate needs access to the Mnemonica servers. Ask your IT administrator to do these actions:
- Add mnemonica.io to the whitelist of the firewall.
- Open TCP and UDP port 443 for outbound traffic.
- For automatic updates, also allow update.mnemonica.io.
If the firewall blocks these ports or domains, the Gate can fail to connect, sync, update or transfer files.
Where the Gate keeps its files
The Gate keeps its settings and logs in the folder Mnemonica/Gate inside your user data folder. On a Mac, the folder is usually ~/Library/Application Support/Mnemonica/Gate. Support can ask you for the file gate.log from this folder.
Older versions
Mnemonica Gate versions previous to 3.5.0 are deprecated. Remove or upgrade them on each system you know. Even if you do not use them for transfers, they can interfere with other active sessions of the Gate.
Related articles
About Mnemonica Gate
What Mnemonica Gate is, when to use it, and how it handles uploads and downloads in Screening Rooms and Boxes.
Upload media to a Screening Room
Upload files to a Screening Room, and learn about folder uploads, upload errors, and illegal characters in filenames.
Manage your transfers in the Gate
Pause, resume, remove and retry transfers in the Mnemonica Gate window, and read the status messages.
System requirements
Check the supported browsers, screen resolution, mobile operating systems and network requirements for Mnemonica.